Every software application architecture pattern has its pros and cons. Today, we are going to look into how to start creating a microapps architecture for your iOS apps. First, what is modular architecture?
To learn more about the Microapps architecture you can read more here.
In short, the Microapps architecture is an app that is built by standalone module libraries. These packages could be for example implementations like UI systems, HTTPS calls, specific features like customer support, helper functions, tooling, and more.
Using the Microapps architecture improves the following:
- Reusability - Smaller Packages can be re-used by any other Swift-based project
- Modularity - Improves separation of concerns instead of one big chunk of codebase
- Build/Compile time - Cause your codebase is separated into modules, you can build the module instead of one big codebase/project
If you are familiar with backend development, the concept is similar to microservices.
To understand it better, let’s start creating an empty project. The aim of this project is to create an app that returns Chuck Norris jokes to the user.
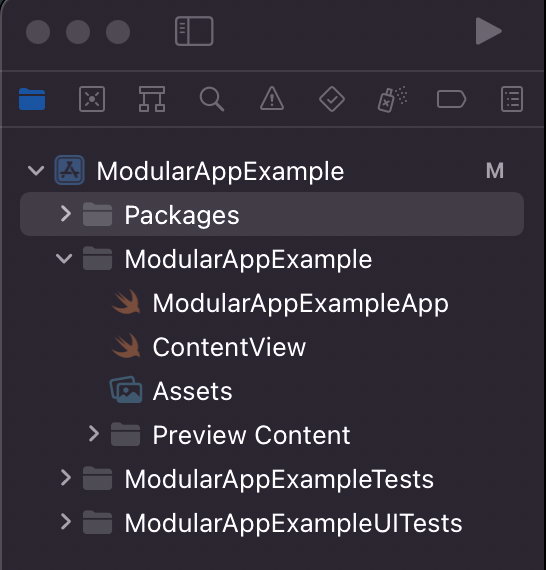
First, let’s start by adding a new directory in our project workspace called Packages.
Then let’s start creating a standalone package. The aim of this package is to handle all our API calls to get a Chuck Norris joke. We can create a new package with the shortcut control + shift + cmd + n. Or by going to Xcode -> file -> package on the Xcode menu bar.
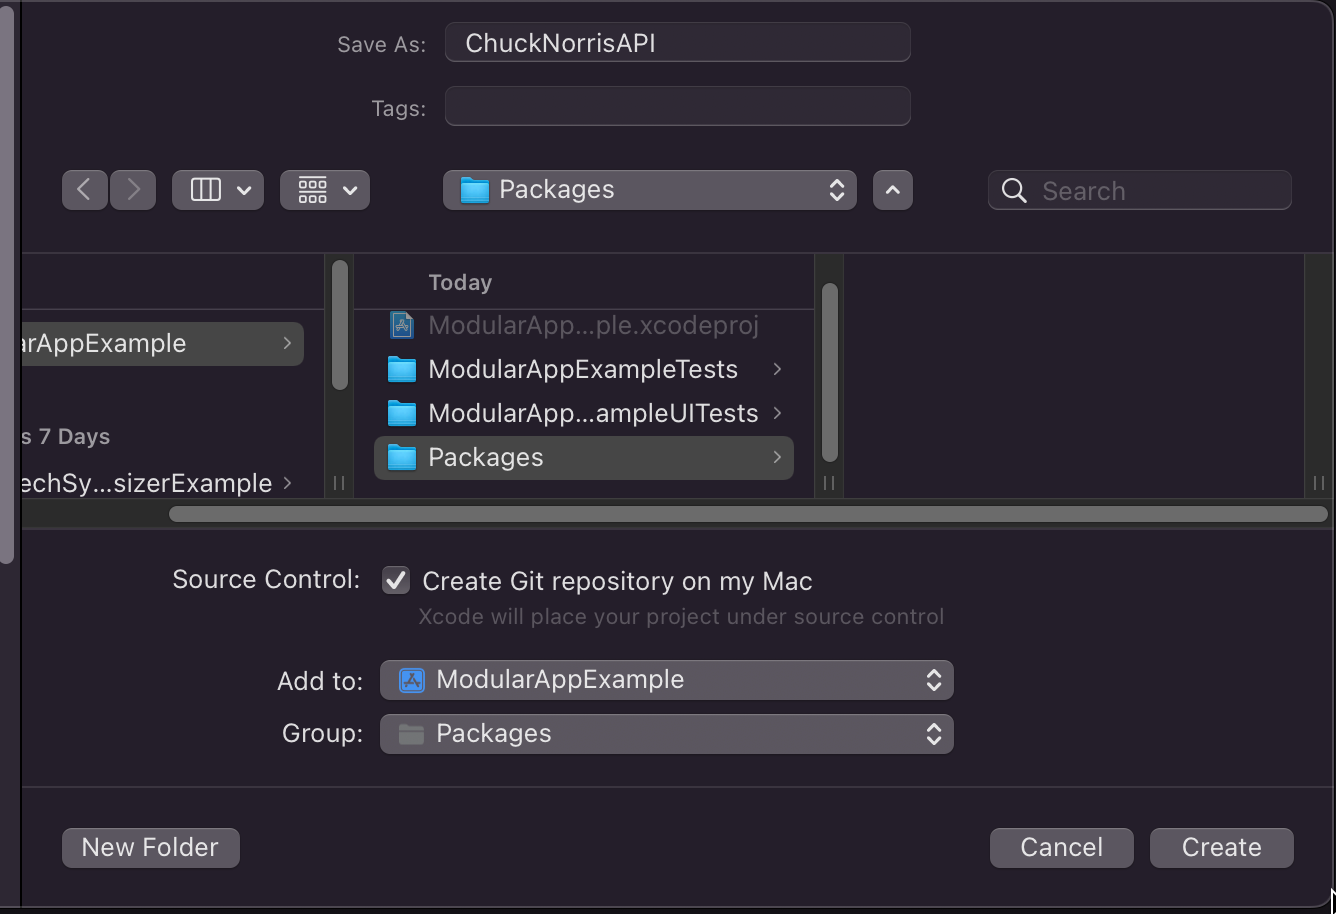
Then make sure you have the following:
- A name is given to the standalone package
- Add to the project you want your package to be available on
- Make sure the Group option is directed towards the
Packagesfolder we made (optional)
Also, if you want a separate git repository to hold your standalone package, you can also toggle the Create Git repository on my Mac checkbox. In this article, we leave it unchecked.
Congratulations you have made your first package.
Let’s take a look at our Package.swift file first of our new package.
import PackageDescription

let package = Package(
    name: "ChuckNorrisAPI",
    products: [
        // Products define the executables and libraries a package produces, and make them visible to other packages.
        .library(
            name: "ChuckNorrisAPI",
            targets: ["ChuckNorrisAPI"]),
    ],
    dependencies: [
        // Dependencies declare other packages that this package depends on.
        // .package(url: /* package url */, from: "1.0.0"),
    ],
    targets: [
        // Targets are the basic building blocks of a package. A target can define a module or a test suite.
        // Targets can depend on other targets in this package, and on products in packages this package depends on.
        .target(
            name: "ChuckNorrisAPI",
            dependencies: []),
        .testTarget(
            name: "ChuckNorrisAPITests",
            dependencies: ["ChuckNorrisAPI"]),
    ]
)
Within a Package.swift we can define the following:
- The name of the package
- The products that another Swift project can execute
- The dependencies that our package may need to have (i.e. Alamofire)
- The targets that the compiler needs to build independently
- The platforms that the package needs to support
For our package, we don’t need any dependencies, thus we can keep it empty.
We do want to define which platforms our package needs to support. For this article, we want our package to only support iOS 15.0 and above. Let’s rewrite our file to the following:
import PackageDescription

let package = Package(
    name: "ChuckNorrisAPI",
    platforms: [.iOS(.v15)],
    products: [
        .library(
            name: "ChuckNorrisAPI",
            targets: ["ChuckNorrisAPI"]),
    ],
    dependencies: [],
    targets: [
        .target(
            name: "ChuckNorrisAPI",
            dependencies: []),
        .testTarget(
            name: "ChuckNorrisAPITests",
            dependencies: ["ChuckNorrisAPI"]),
    ]
)
Learn more about creating a standalone swift package here
Now that we have a better understanding of how to create packages, let’s finally add some code and logic to the package. Let’s head to our file ChuckNorrisAPI.Swift.
First, we know that our package needs to return a Chuck Norris joke. Let’s write a simple protocol that does that:
protocol ChuckNorrisAPIProviding {
    func getChuckNorrisJoke() async throws -> String
}
Then let’s implement that in our API client.
public struct ChuckNorrisAPI: ChuckNorrisAPIProviding {
    public func getChuckNorrisJoke() async throws -> String {
        let url = URL(string: "https://api.chucknorris.io/jokes/random")!
        let session = URLSession.shared
        let (data, response) = try await session.data(from: url)
        let decoder = JSONDecoder()
        let joke = try decoder.decode(RandomJokeResponse.self, from: data)
        return joke.value
    }
}
Also, we need a Decodable struct to decode the response given by the API. Thus let’s implement this as RandomJokeResponse
public struct RandomJokeResponse: Codable {
let categories: [String]
let createdAt: String
let iconUrl: String
let id: String
let updatedAt: String
let url: String
let value: String
enum CodingKeys: String, CodingKey {
case categories
case createdAt = "created_at"
case iconUrl = "icon_url"
case id
case updatedAt = "updated_at"
case url
case value
}
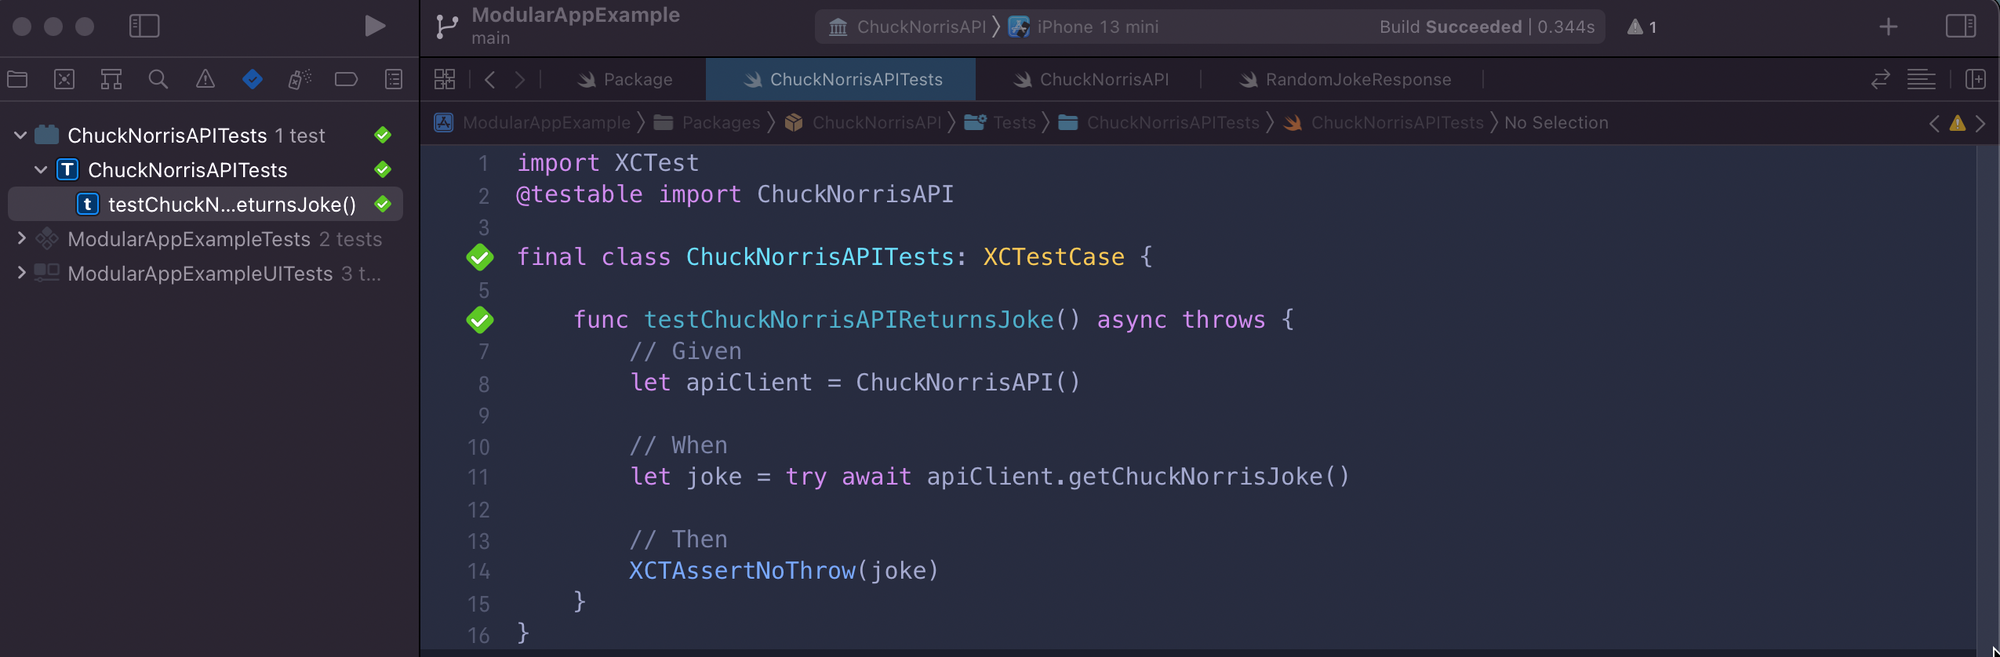
}To really ensure our package returns a joke, it’s valuable to write a test for it. Let’s go to our folder Tests where all the tests of our package are usually written. There should be already a file called ChuckNorrisAPITests generated, so let’s go there, delete the boilerplate code, and write our own tests.
import XCTest
@testable import ChuckNorrisAPI

final class ChuckNorrisAPITests: XCTestCase {

    func testChuckNorrisAPIReturnsJoke() async throws {
        // Given
        let apiClient = ChuckNorrisAPI()

        // When
        let joke = try await apiClient.getChuckNorrisJoke()

        // Then
        XCTAssertNoThrow(joke)
    }
}
To run our tests, we have to switch our target to ChuckNorrisAPI.
Congratulations, you have to know created a Swift package that can return a joke to another Swift project!
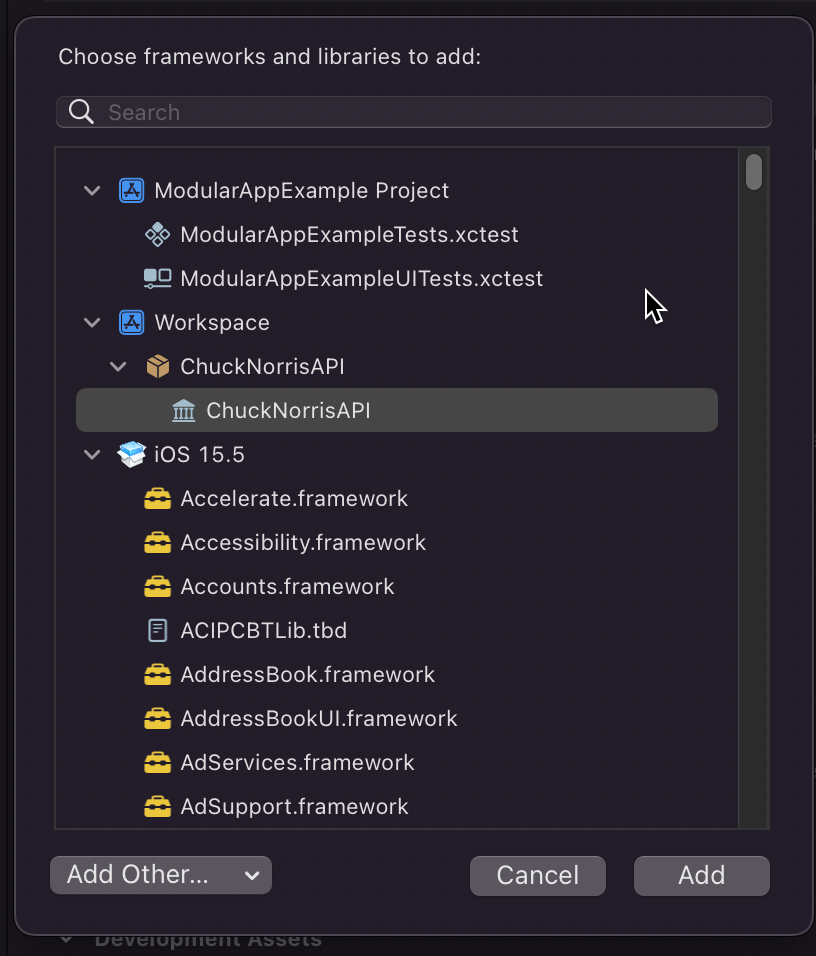
Now that we have our package available and working, let’s add it to our example app project. We can do this by pressing on our App project in Xcode. Then go to section Targets -> <TargetName> -> General -> Frameworks, Libraries, and Embedded Content. Within that section, we can click on the plus sign and should be able to select the package. Our package is thus called ChuckNorrisAPI.
Now we can import it anywhere we want within our App. Let’s do that within our ContentView SwiftUI view and build a list that displays the fetched jokes.
import SwiftUI
import ChuckNorrisAPI
struct ContentView: View {
@State var jokes: [String] = []
private let apiClient = ChuckNorrisAPI()
private func getJoke() {
Task {
let joke = try await apiClient.getChuckNorrisJoke()
self.jokes.insert(joke, at: 0)
}
}
var body: some View {
NavigationView {
List(jokes, id: \.self) { joke in
Text("\(joke)")
}
.navigationTitle("Chuck Norris Jokes")
.toolbar {
ToolbarItem(placement: .navigationBarTrailing) {
Button("Get new joke") {
self.getJoke()
}
}
ToolbarItem(placement: .navigationBarLeading) {
Button("Clear") {
self.jokes.removeAll()
}
}
}
}
}
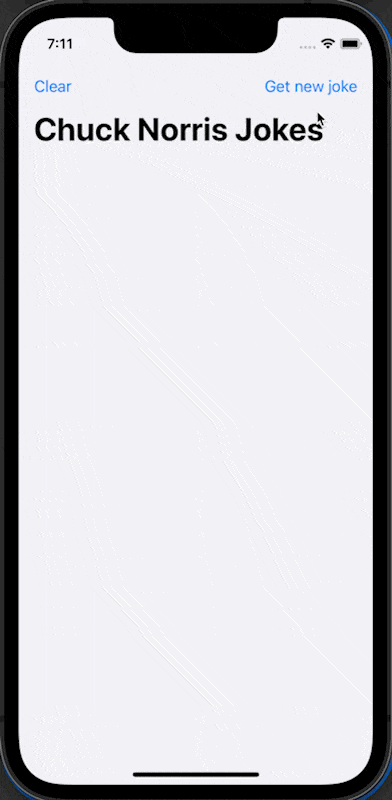
}Let’s switch our target scheme back to our app and run the app.
Congratulations! You have now learned how to import your standalone package within your app, and also how to use it.
We have learned the following:
- How to create a standalone Swift package
- How to import your Swift package within another Swift project
If you, for example, want to change the HTTPS communication with the API, you don’t have to build and run the whole project. You can switch the target scheme to the package and only have to compile/build the relevant context.
The next exercise for you is to maybe create another package that contains reusable UI components like Buttons, ViewModifers, and or custom views.
Or even better, create a repository for your package and implement it in another Swift project.
Remember that every architecture has its pros and cons and it’s for the maintainers of the project to decide what architecture patterns to use. Microapps architecture is one where it improves the separation of concerns, modularises your app, and improves reusability.
Keep creating great things!
The example project is available here on GitHub.