How to let iOS speak to you
Using AVSpeechSynthesizer

On iOS (iPadOS as well) can convert any text into speech. This results in letting your mobile app speak to your customers with voice and sound. Extremely helpful to implement features that read instructions, stories, or accessibility improvements.
So how do we implement this feature?
First, we need to import the foundation of all Audio.
import AVFoundation
With this, you have access to the object AVSpeechSynthesizer. This object allows to ability to let your app speak to your users, but also monitor and control ongoing speech.
Looking into the docs by Apple, you can notice there is a function called:
func speak(_ utterance: AVSpeechUtterance)
You notice that this function to allow your app to speak, needs AVSpeechUtterance as a parameter.
So let’s see how that is done.
let text = "Speak to me please"
let utterance = AVSpeechUtterance(string: text)
Now that we know how to activate the speak functionality of AVSpeechSynthesizer, let’s build a service that can do that for us.
protocol SpeechSynthesizerProviding {
    func speakText(_ text: String)
}

final class SpeechSynthesizer: SpeechSynthesizerProviding {
    func speakText(_ text: String) {
        let utterance = AVSpeechUtterance(string: text)
        let synthesizer = AVSpeechSynthesizer()
        synthesizer.speak(utterance)
    }
}
Now we need to build a ViewModel (or Store based on your architecture) that can activate the service.
@MainActor
final class ContentViewModel: ObservableObject {
    @Published var text: String = "Speak to me please"

    let speechSynthesizer: SpeechSynthesizerProviding

    init(speechSynthesizer: SpeechSynthesizerProviding) {
        self.speechSynthesizer = speechSynthesizer
    }

    func onTapSpeak() {
        speechSynthesizer.speakText(self.text)
    }
}
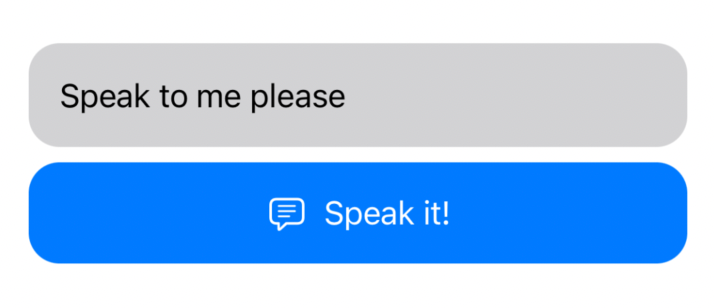
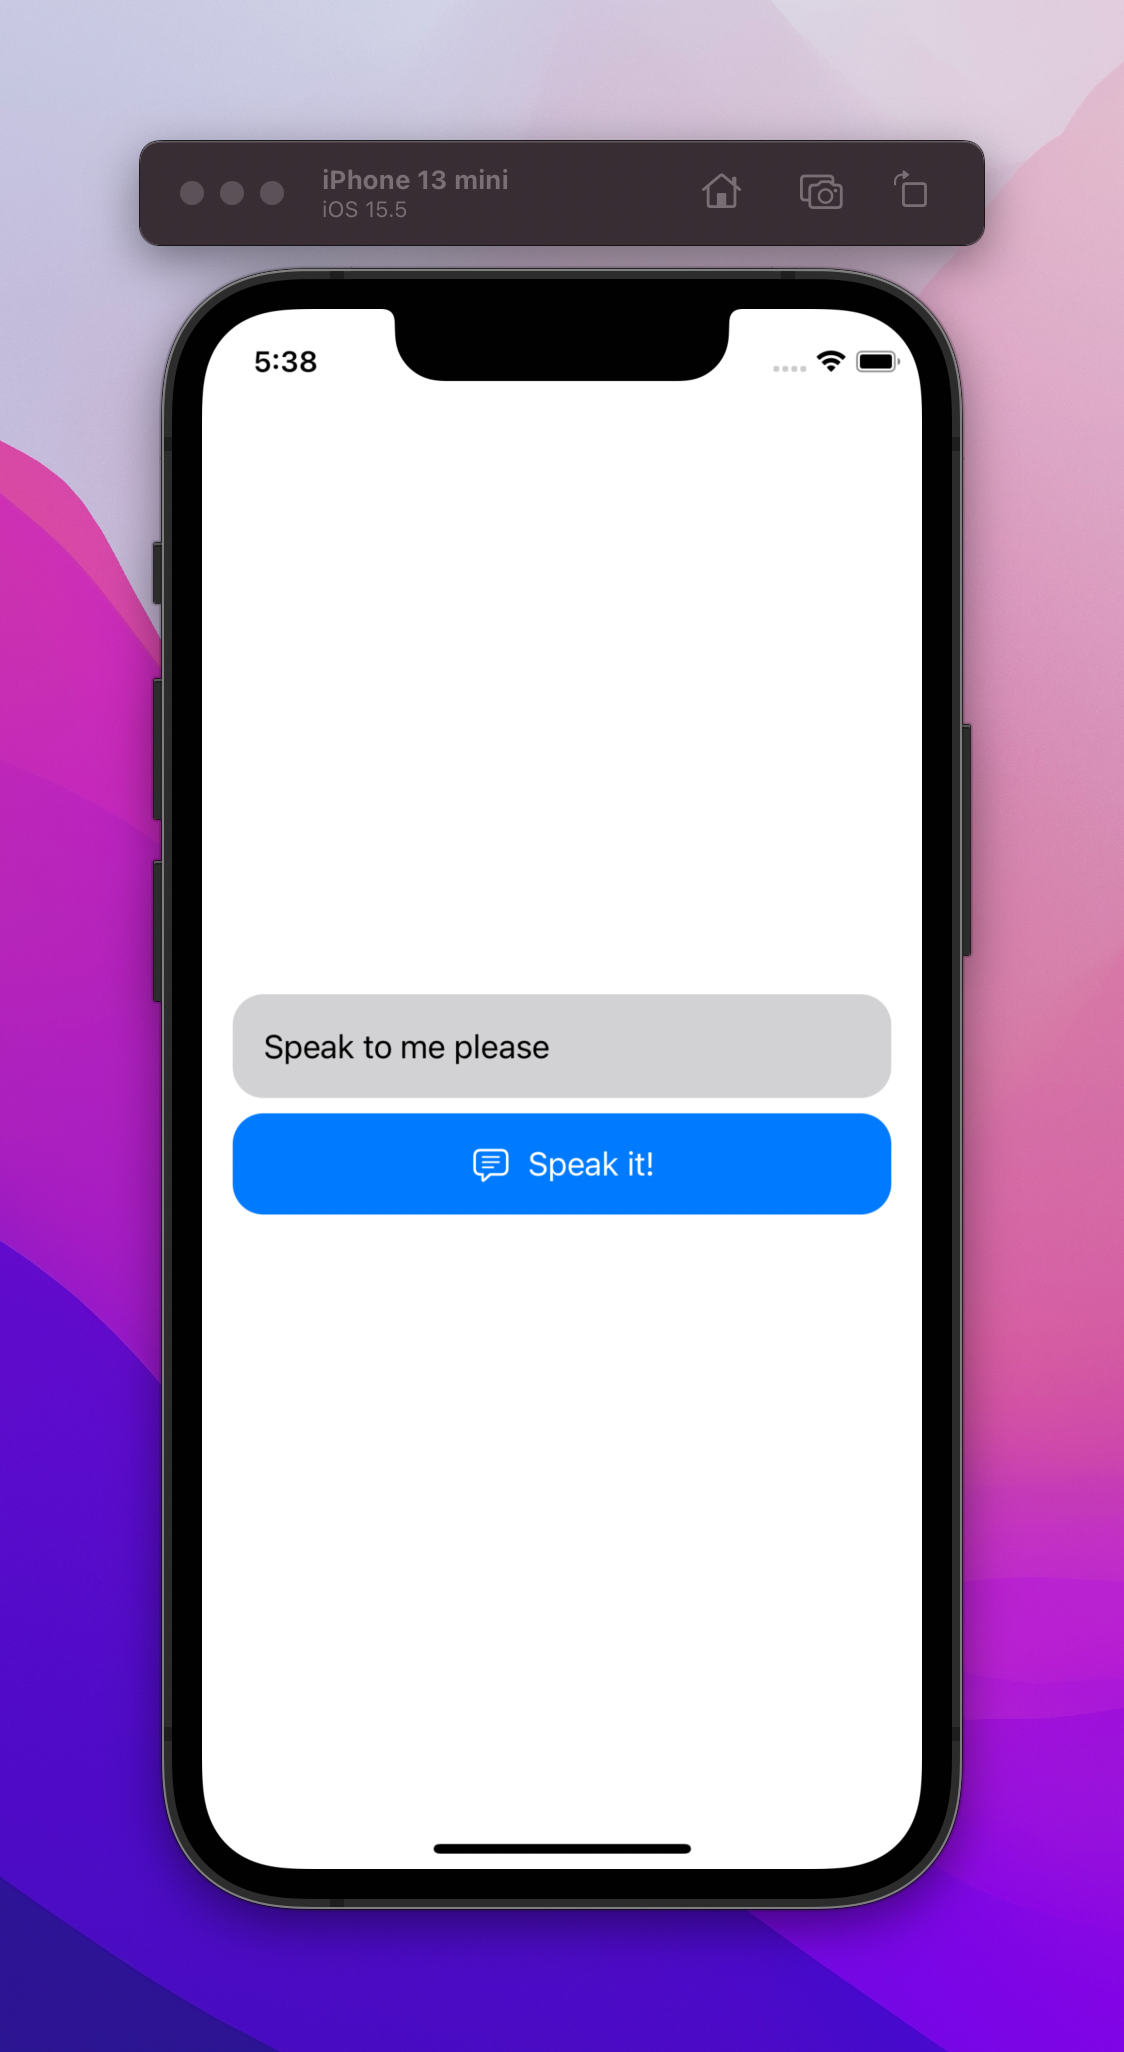
As last, let’s build a view that allows the user to type something and tap on a button to let the app speak to the user.
struct ContentView: View {
    @StateObject var viewModel = ContentViewModel(
        speechSynthesizer: SpeechSynthesizer()
    )

    var body: some View {
        VStack {
            TextField(
                "Type the text you want to hear",
                text: $viewModel.text
            )
            .padding()
            .background(Color.gray.opacity(0.4))
            .cornerRadius(16)

            Button {
                viewModel.onTapSpeak()
            } label: {
                Label(
                    "Speak it!",
                    systemImage: "text.bubble"
                )
            }
            .frame(maxWidth: .infinity)
            .padding()
            .background(Color.accentColor)
            .foregroundColor(.white)
            .cornerRadius(16)
        }
        .padding(.horizontal)
    }
}
Now let’s run the app, and you can type anything in the textfield, press the Speak button, and the app will speak it you.

Congratulations, you have now implemented text-to-speech within your app.
Languages
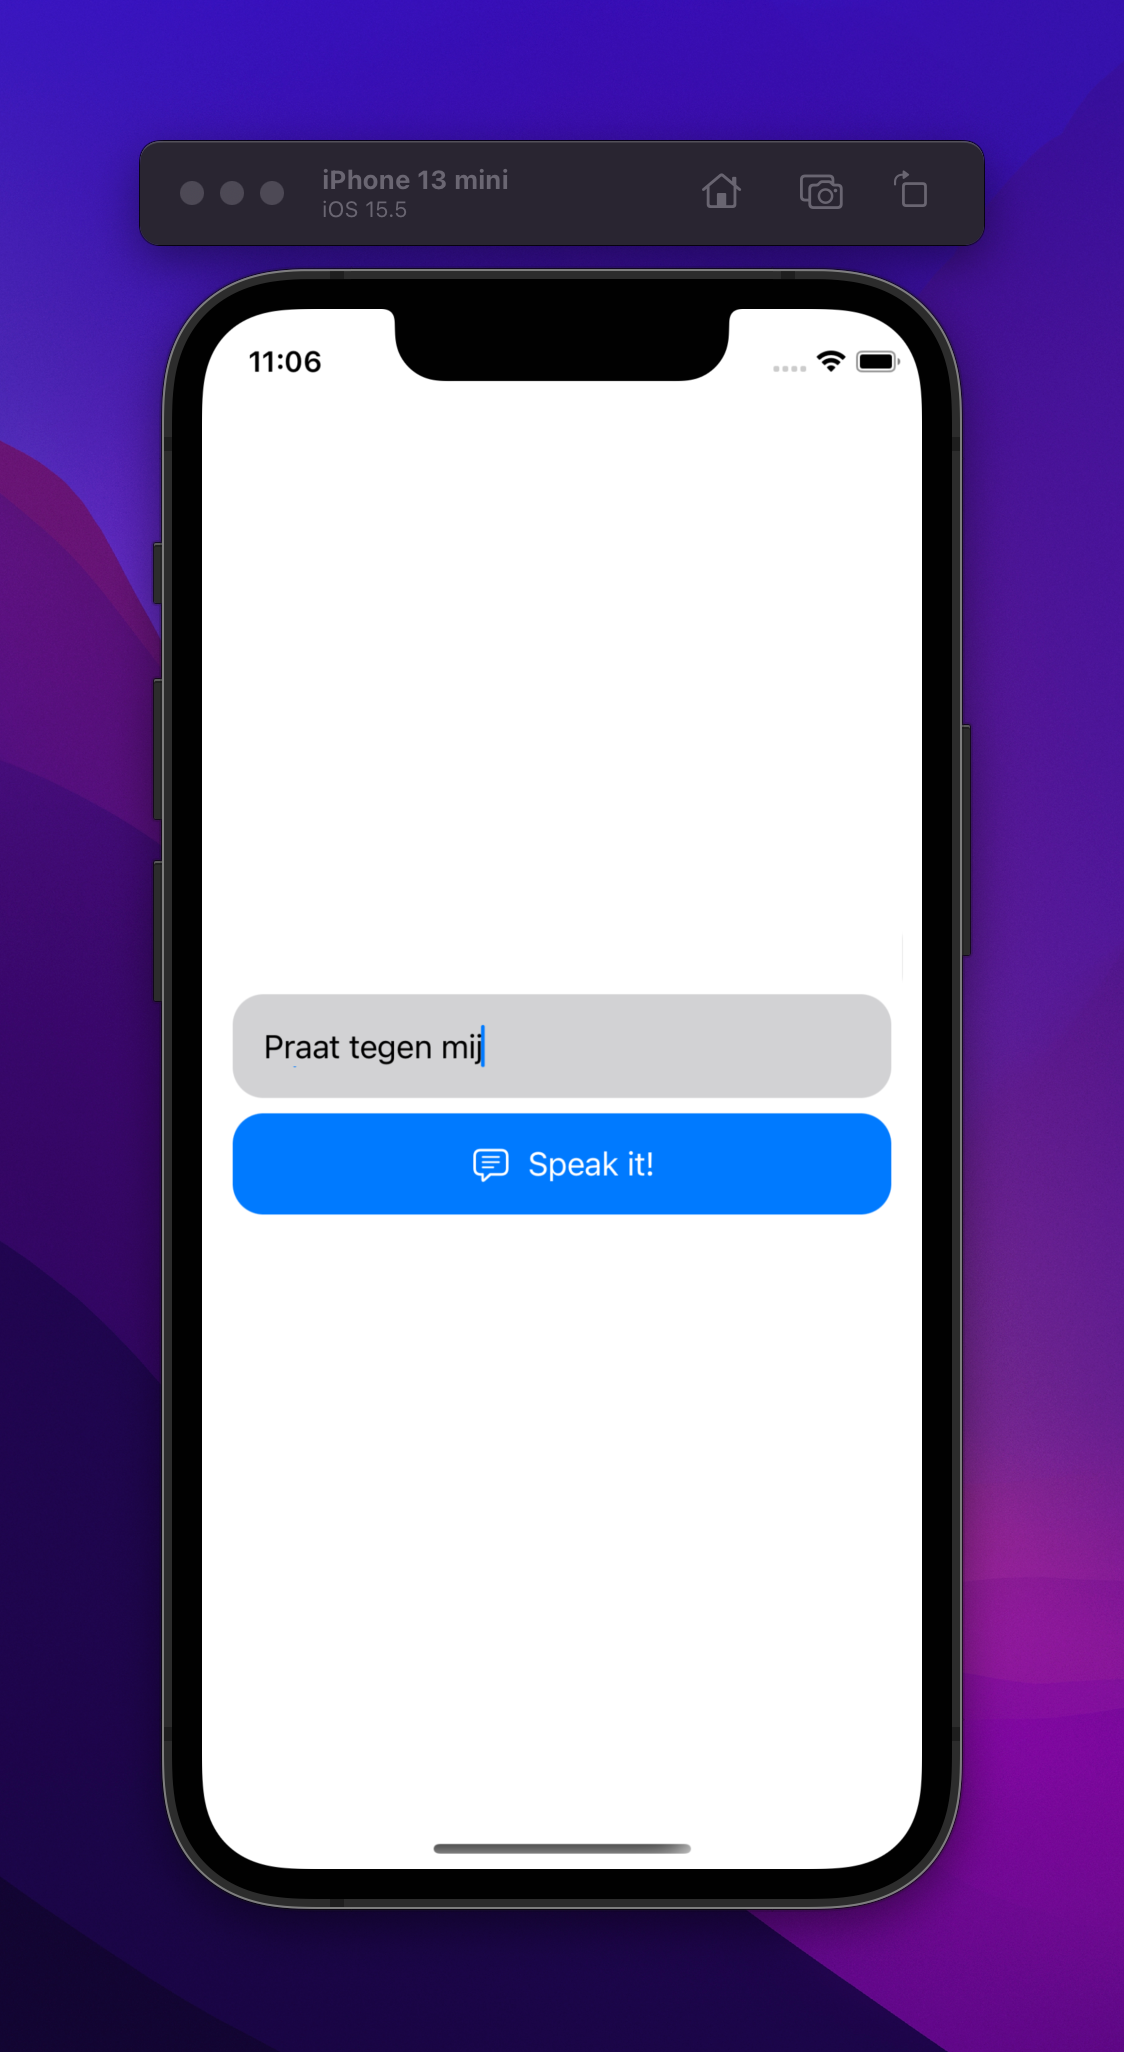
If you are bilingual, you immediately notice that when you put another language in the TextField, it tries to read it out in English instead of your intended language.
How do we solve this?
We can improve this but utilizing Apple’s Natural Language API capabilities to detect the language of a given text. There is documentation provided by Apple on how to do this.
Specifically, using the object NLLanguageRecognizer ()
So let’s go back to your SpeechSynthesizer class to do this and implement this.
import Foundation
import AVFoundation
import NaturalLanguage

protocol SpeechSynthesizerProviding {
    func speakText(_ text: String)
}

final class SpeechSynthesizer: SpeechSynthesizerProviding {
    func speakText(_ text: String) {
        let utterance = AVSpeechUtterance(string: text)

        if let language = self.detectLanguageOf(text: text) {
            utterance.voice = AVSpeechSynthesisVoice(language: language.rawValue)
        }

        let synthesizer = AVSpeechSynthesizer()
        synthesizer.speak(utterance)
    }

    private func detectLanguageOf(text: String) -> NLLanguage? {
        let recognizer = NLLanguageRecognizer()
        recognizer.processString(text)

        guard let language = recognizer.dominantLanguage else {
            return nil
        }

        return language
    }
}
Here we have implemented a function that detects the language of any given text. Then if a language is detected, we use the rawValue of the object NLLanguage to get the language code. At last, we can change the voice of our AVSpeechUtterance by giving it a different voice using an object of AVSpeechSynthesisVoice(language: ...).
Now if you put, for example, a dutch text, the app will read it out more fluently in the designated voice, accent, and pronunciation.

Overlapping voices
Another problem that you may encounter is that if you accidentally (or intentionally) press the Speak button multiple times, the app will also speak it multiple times.
To resolve this, we have to only allow one instance of AVSpeechSynthesizer.
protocol SpeechSynthesizerProviding {
    var synthesizer: AVSpeechSynthesizer { get }
    func speakText(_ text: String)
}

final class SpeechSynthesizer: SpeechSynthesizerProviding {
    var synthesizer: AVSpeechSynthesizer = AVSpeechSynthesizer()

    func speakText(_ text: String) {
        let utterance = AVSpeechUtterance(string: text)

        if let language = self.detectLanguageOf(text: text) {
            utterance.voice = AVSpeechSynthesisVoice(language: language.rawValue)
        }

        synthesizer.speak(utterance)
    }

	/// Detect Language function
	///
}
Okay, we now have resolved the problem where if the user presses multiple times, you don’t hear multiple voices anymore. Now all the speeches are now queued up.
But is that the desired user experience? If I press the speak button 10x times back to back, then I will also hear my text 10x times back to back. Maybe for some apps, not the best solution.
Let’s improve this by resetting the AVSpeechSynthesizer when speakText() is going to get called again. We can do that by simply looking at the documentation of AVSpeechSynthesizer and seeing that there is a stopSpeaking(at boundary: AVSpeechBoundary) -> Bool function available.
So let’s implemented that in our speakText() function.
func speakText(_ text: String) {
	synthesizer.stopSpeaking(at: .immediate)

	let utterance = AVSpeechUtterance(string: text)

	if let language = self.detectLanguageOf(text: text) {
		utterance.voice = AVSpeechSynthesisVoice(language:
language.rawValue)
	}

   	synthesizer.speak(utterance)
}
Now voices are not overlapping anymore, and there is no endless queue of the same sentences.
Hope this gives you a better idea of how text-to-speech functionality can be implemented and utilized within iOS Swift. Go create great things!
The full project is available here on GitHub.